 Nic Dunn, CEO, Charle Agency
Why Customising Your Shopify Checkout Matters
The checkout is the highest-intent page on your entire Shopify store. Every visitor who reaches it has already browsed, added to cart, and decided they want to buy. Even small improvements here have an outsized impact on revenue.
Industry data consistently shows that the average ecommerce cart abandonment rate sits around 70%, with a significant portion of that drop-off happening during the checkout itself. Poor checkout UX, unexpected costs, limited payment options, and a lack of trust signals are among the most common reasons shoppers leave without completing their order.
Customising your checkout lets you address each of these pain points directly. You can streamline the form fields, reinforce brand trust, add upsells that increase average order value, and tailor the experience to match your customers' expectations. We've seen clients improve checkout conversion rates by 10 to 15% through targeted checkout optimisations alone.
Beyond conversion, a branded checkout builds confidence. When the checkout looks and feels like the rest of your store, customers trust the process. A generic, unbranded checkout can feel jarring and raise doubts, particularly for first-time buyers. For broader context on how checkout fits into your store's SEO and conversion strategy, see our Shopify SEO guide.
Shopify Checkout in 2026: What Has Changed
If you last looked at Shopify checkout customisation before 2024, the landscape has changed significantly. The old checkout.liquid file, which previously allowed direct code edits to the checkout, is now fully deprecated.
Shopify completed the migration away from checkout.liquid in August 2025 for Plus stores. Standard plan stores have until August 2026 to migrate, though Shopify strongly recommends completing this before the deadline. Any store still relying on checkout.liquid customisations will lose those changes when the sunset date passes.
In its place, Shopify has built Checkout Extensibility, a framework with three core pillars:
- Checkout UI Extensions allow you to add custom interface elements (upsells, trust badges, custom fields, banners) at specific target locations within the checkout
- Shopify Functions let you change how the checkout behaves on the backend, including custom discounts, payment method filtering, shipping logic, and validation rules
- Checkout Branding API provides granular control over colours, fonts, logos, corner radii, spacing, and other visual properties
These three tools work together to give merchants a secure, upgrade-safe way to customise every aspect of the checkout experience. Because extensions run in a sandboxed environment, they cannot access sensitive payment data or break the core checkout flow. This makes them more stable than the old checkout.liquid approach, where a single code error could prevent customers from completing purchases.
Another notable change for 2026: as of February 2026, Shopify no longer allows merchants to add background images to the checkout header or main content area. If you currently have a background image set, you can keep it but cannot change it. You can only remove it. This is part of Shopify's ongoing push toward a cleaner, more performance-focused checkout design.
For a deeper look at the one-page checkout layout and what it means for your store, read our guide to Shopify one-page checkout.
Using the Checkout Editor
The checkout editor is the primary tool for customising your Shopify checkout without writing any code. You'll find it by navigating to Settings > Checkout in your Shopify admin, then clicking "Customise" next to the checkout configuration you want to edit.
The editor works similarly to the theme editor you use for the rest of your store, with a visual preview on the right and settings panels on the left. Here's what you can control:
Branding and Style
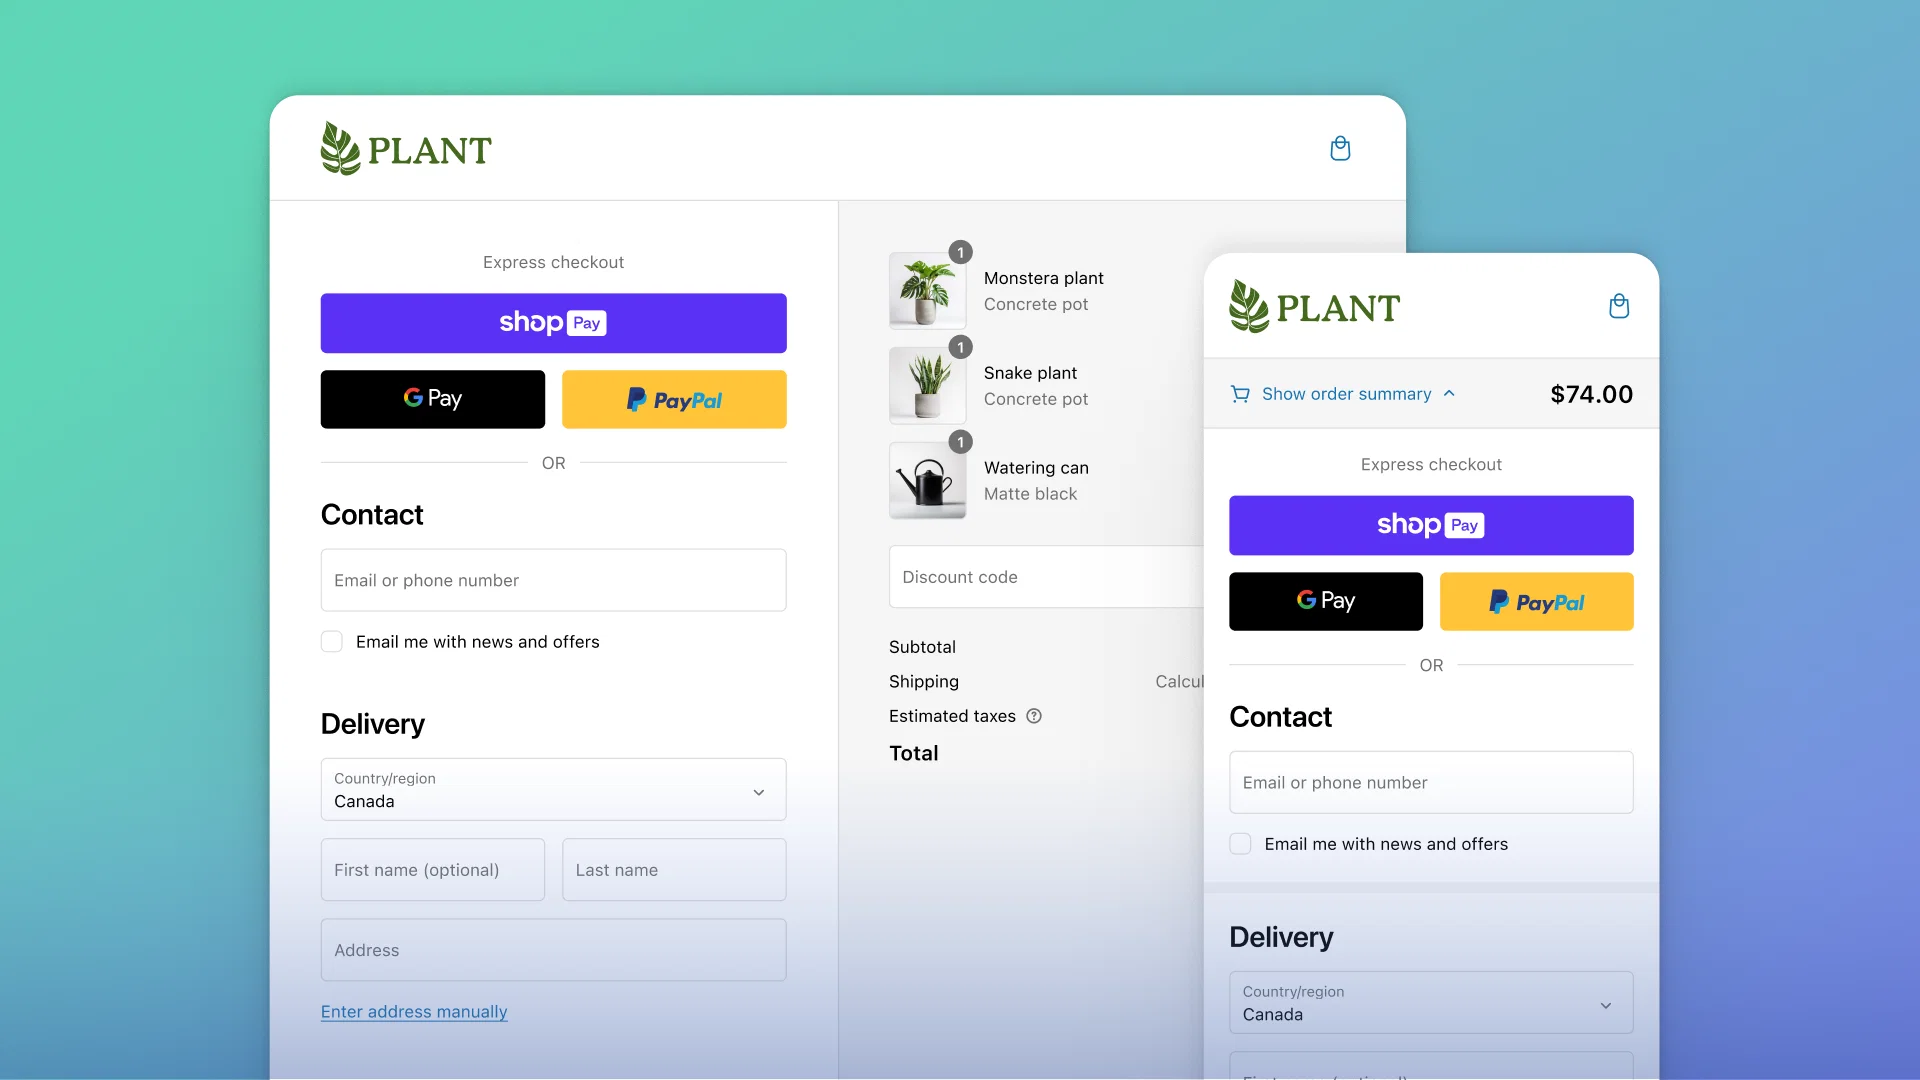
You can upload your logo and control its size and placement within the checkout header. The colour settings let you adjust the background, form fields, buttons, accents, and error states to match your brand palette. Typography controls let you select custom fonts for headings and body text.
Shopify provides control over corner radii (how rounded your buttons and form fields appear), spacing, and border treatments. These small details make a noticeable difference in creating a cohesive, branded checkout experience.
Layout Options
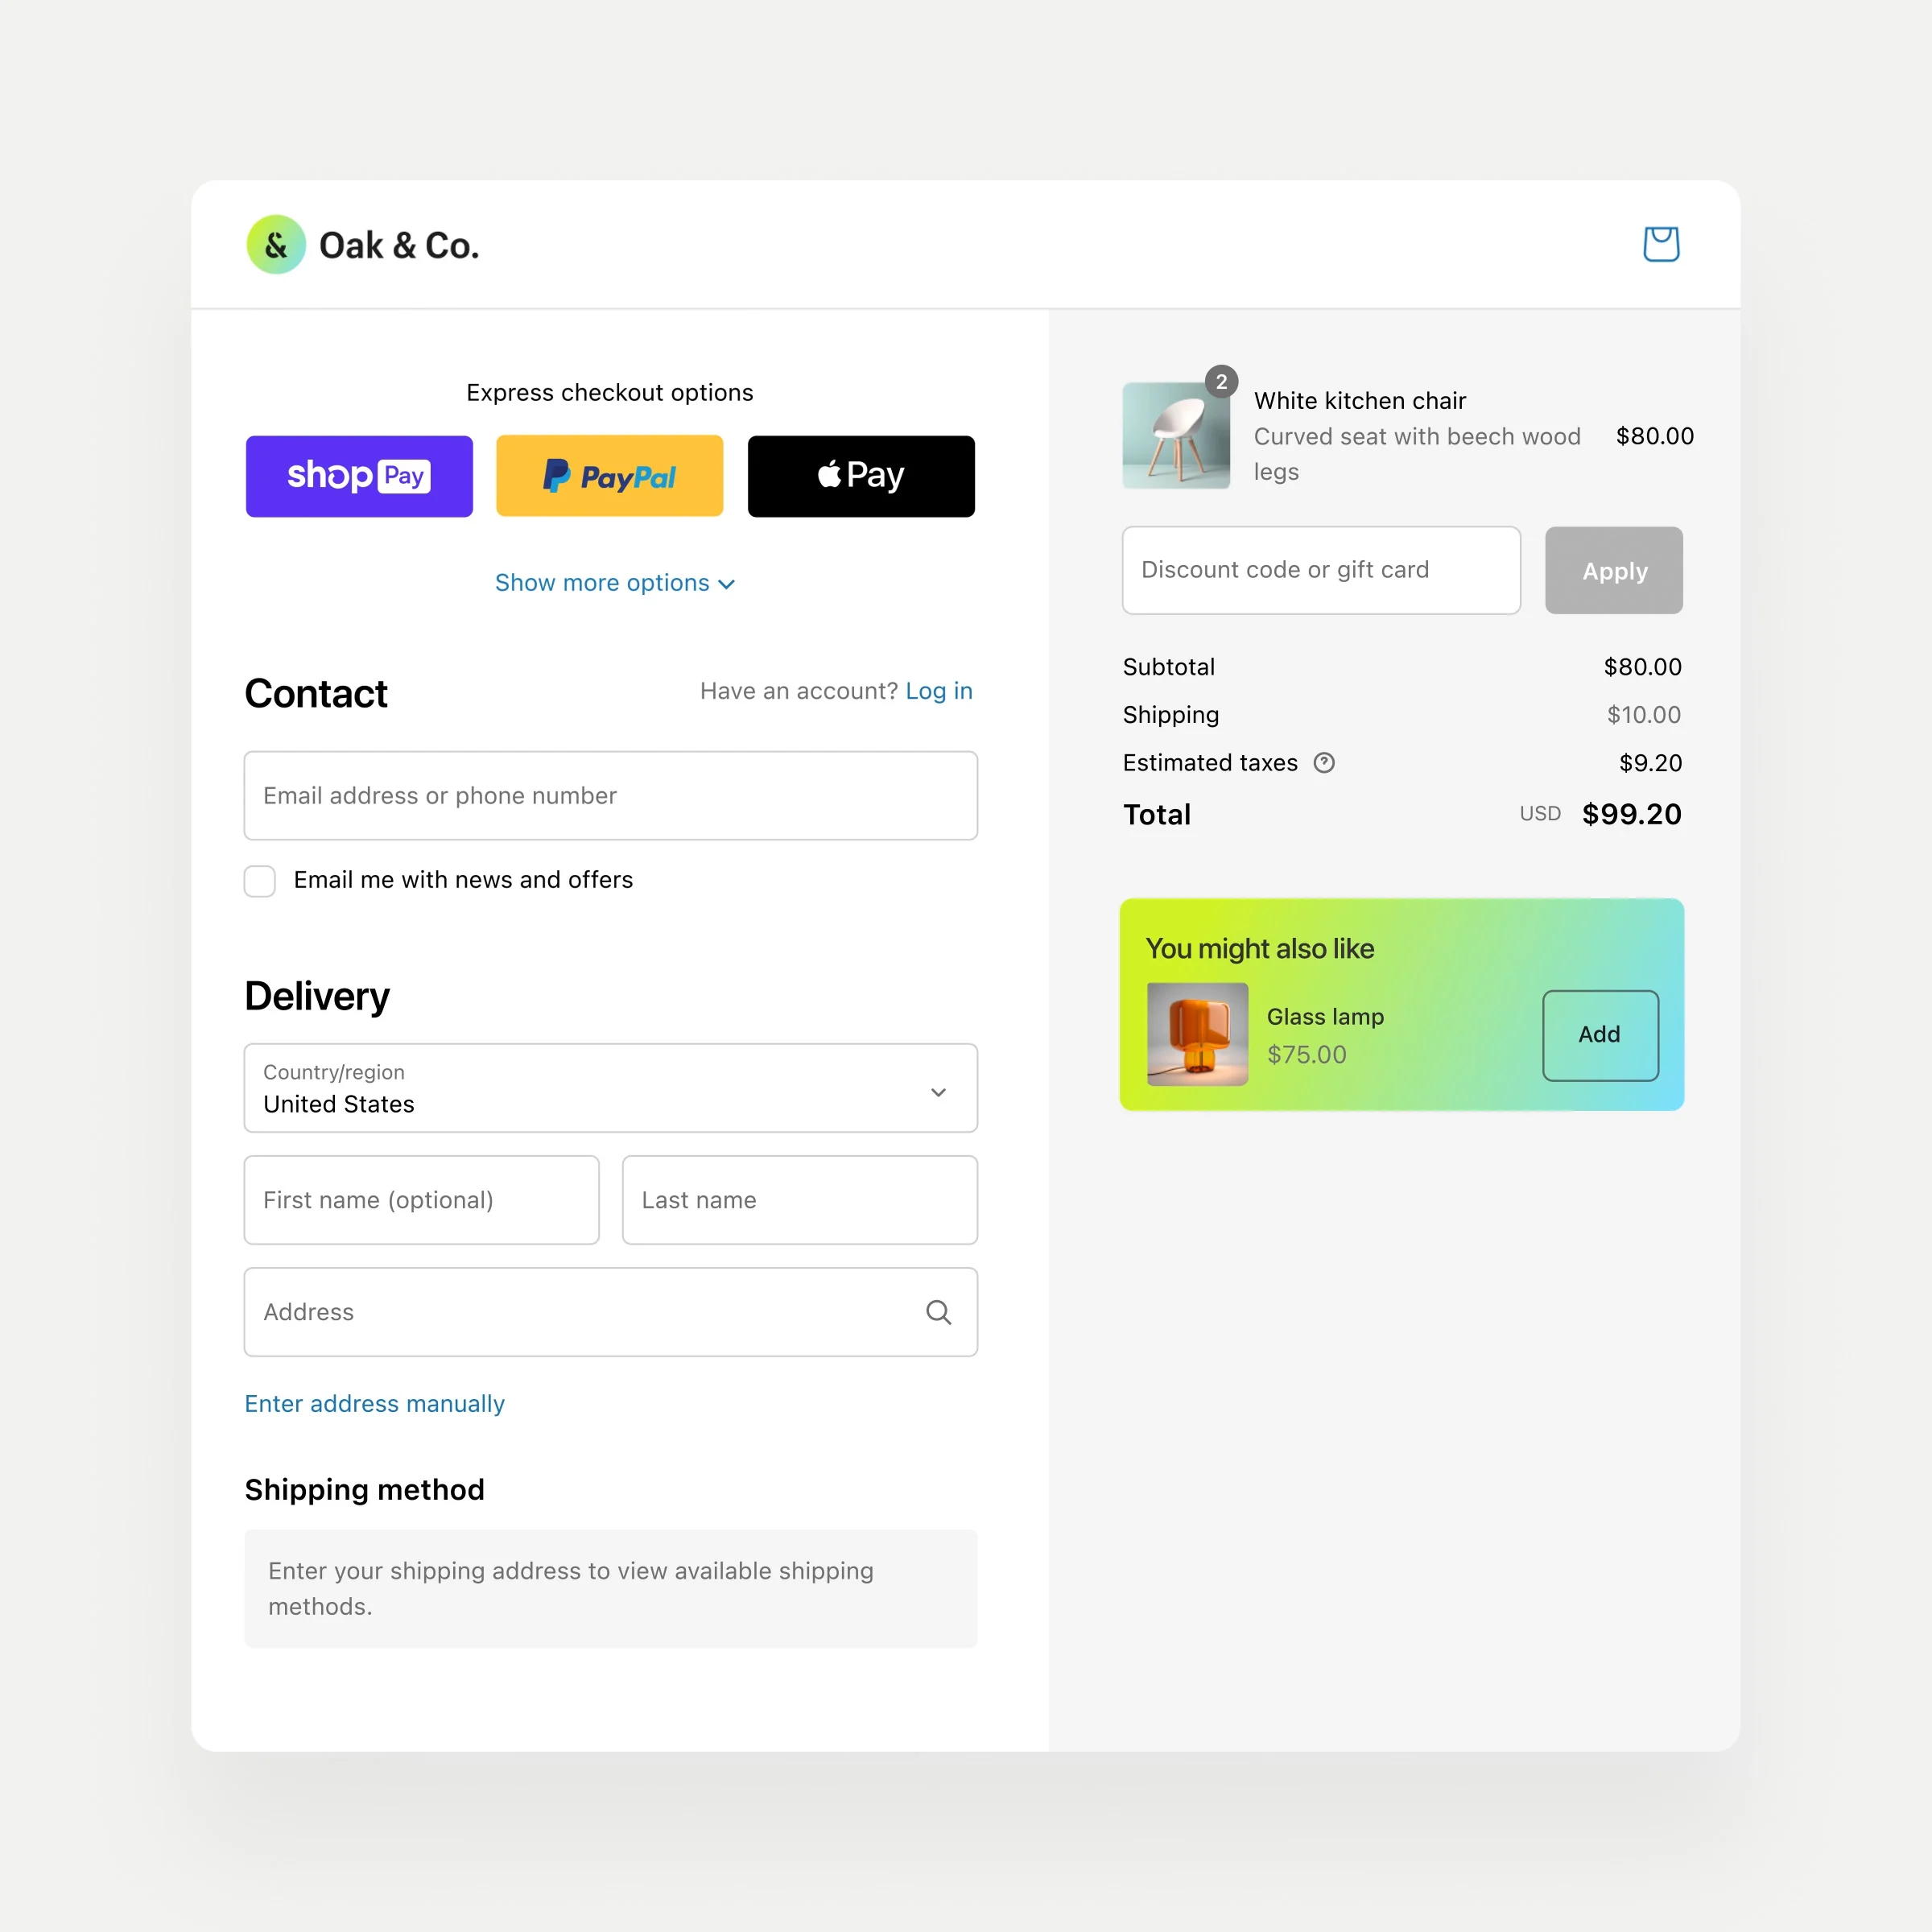
Shopify's default checkout uses a one-page layout where shipping, payment, and order summary are visible together. You can customise where specific elements appear, though the core layout structure is controlled by Shopify for performance and accessibility reasons.
The order summary panel can be configured to show or hide specific details. You can control whether product images appear, how line items display, and what information is shown before the customer completes the purchase.
Adding Apps via the Editor
One of the most powerful features of the checkout editor is the ability to add app blocks at specific locations. After installing a checkout app from the Shopify App Store, you'll see it available as a block you can drag into position within the editor. Target locations include areas above and below the order summary, after specific checkout steps, and within the payment and shipping sections.
This drag-and-drop approach means merchants can add checkout functionality without developer involvement. It's the quickest way to add trust badges, upsells, custom messaging, or loyalty programme integrations to your checkout.
Customising Checkout Form Fields
The information your checkout collects can be configured through Settings > Checkout in your Shopify admin. While Shopify doesn't give you complete freedom to create entirely custom form layouts, there are several meaningful options available.
Customer Contact Method
You can choose whether customers provide an email address, a phone number, or either option to receive order confirmations and shipping updates. For most ecommerce brands, email remains the standard, but offering phone as an option can improve conversion in markets where SMS communication is preferred.
Customer Account Settings
Shopify lets you control whether accounts are disabled, optional, or required during checkout. Making accounts optional with a clear benefit (like order tracking or faster future checkouts) strikes the right balance between collecting customer data and minimising checkout friction. Configuring the right payment gateways alongside these settings is equally important for reducing drop-off.
Shipping Address Fields
You can configure which address fields appear and whether specific fields like the company name or apartment/unit number are required, optional, or hidden. The address autocomplete feature, powered by Google, helps customers fill in their address quickly and accurately.
Tipping and Additional Fields
If your business model supports it, you can enable tipping at checkout. You can also configure whether order notes are available, allowing customers to leave special instructions. For collecting more specific custom data, Checkout UI Extensions offer greater flexibility than the built-in form options (more on this below).
For stores that need to collect information beyond Shopify's standard fields, such as gift messages, delivery date preferences, or custom engraving text, Checkout UI Extensions with metafields are the recommended approach. These let you add custom input fields at specific points in the checkout and store the data against the order. For more on how shipping works on Shopify, including checkout-related shipping settings, see our dedicated guide.
Checkout UI Extensions: Adding Custom Functionality
Checkout UI Extensions are the primary way to add custom interface elements to the Shopify checkout. They run in a secure, sandboxed environment and can be added at specific target locations throughout the checkout flow.
What UI Extensions Can Do
The range of possibilities with UI Extensions is broad. Common use cases include:
- Order bumps and upsells: Display complementary products or upgrades directly in the checkout, encouraging customers to increase their order value before paying
- Trust badges and guarantees: Show security seals, money-back guarantees, or delivery promises to reassure customers at the point of purchase
- Custom form fields: Collect additional information like gift messages, delivery preferences, or VAT numbers that standard checkout fields don't support
- Loyalty and rewards: Display loyalty points balances, allow point redemption, or show progress toward a reward tier
- Delivery date pickers: Let customers choose a preferred delivery date or time window during checkout
- Social proof: Show recent purchases, reviews, or urgency signals like limited stock warnings
- Custom banners and messaging: Display promotional messages, shipping thresholds, or important notices contextually based on the cart contents
Target Locations
UI Extensions can only be placed at predefined target locations within the checkout. Shopify provides targets across the information step, shipping step, payment step, and order summary. You cannot place extensions anywhere you like, but Shopify has been steadily expanding the available targets with each platform update.
Key target locations include before and after the shipping method selection, above and below the payment method, within the order summary, and on the thank you and order status pages.
How to Add UI Extensions
For most merchants, the simplest route is to install a checkout app from the Shopify App Store that provides the extension you need. Once installed, you add the extension to your checkout through the checkout editor, exactly like adding a theme block.
For brands that need bespoke functionality, custom UI Extensions can be built by a developer using Shopify's Checkout UI Extensions API. These are written in JavaScript (React-based) and use Shopify's component library to ensure they match the checkout's visual style. Extensions integrate with Shop Pay as well, so your customisations work regardless of which checkout path the customer takes.
At Charle, we build custom checkout extensions through our Shopify app development service for clients who need functionality beyond what off-the-shelf apps provide. From bespoke upsell logic to complex B2B checkout flows, custom extensions offer the flexibility to match your exact business requirements. If that's something you need, get in touch with our team.
Shopify Functions: Changing Checkout Behaviour
While UI Extensions control what the checkout looks like, Shopify Functions control how it behaves. Functions run on Shopify's infrastructure and let you customise the backend logic of the checkout process.
Functions replaced the older Shopify Scripts (which were available only on Plus) and offer a more powerful, scalable approach to checkout logic customisation. They're written in Rust or JavaScript and execute in a WebAssembly runtime for performance and security.
What Functions Can Customise
Shopify Functions cover several critical areas of checkout behaviour:
Discount Functions let you create custom discount logic that goes beyond Shopify's built-in discount engine. You can build volume discounts, tiered pricing, buy-X-get-Y with complex conditions, or discounts that apply based on customer tags, order history, or any other data point available to the function.
Payment Customisation Functions allow you to hide, reorder, or rename payment methods based on conditions. For example, you might hide cash-on-delivery for orders over a certain value, or reorder payment methods based on the customer's location.
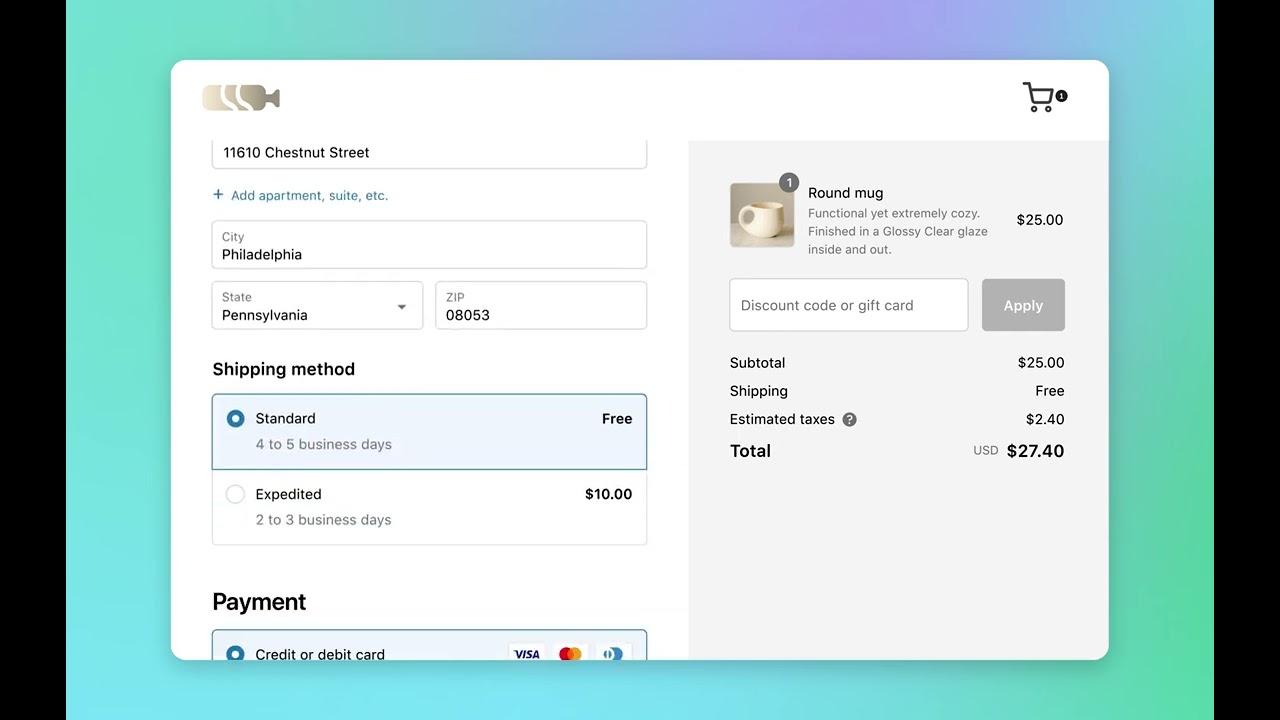
Delivery Customisation Functions let you modify how shipping options are presented. You can rename shipping methods for clarity, hide options that don't apply, or reorder methods to promote your preferred delivery partner.
Cart and Checkout Validation Functions let you add custom validation rules. You might prevent checkout if certain product combinations are in the cart, enforce minimum order values for specific customer groups, or validate custom field inputs.
Order Routing Functions control how orders are assigned to fulfilment locations after purchase, useful for brands with multiple warehouses or fulfilment partners.
For an in-depth look at what's possible with Functions, see our guide to Shopify Functions.
Functions and Shopify Plus
Some Function types are available on all Shopify plans, while others require Shopify Plus. Discount Functions, for example, are available to all merchants, while Payment and Delivery Customisation Functions are Plus-only. This distinction matters when planning your checkout strategy, and it's one of the reasons brands upgrading to Plus often see an immediate improvement in checkout performance. For more on the advantages, read our comparison of Shopify Plus benefits.
The Checkout Branding API
The Checkout Branding API gives developers programmatic control over the visual design of the checkout. While the checkout editor provides a visual interface for basic branding, the Branding API goes significantly further.
With the Branding API, you can control:
- Colour schemes: Set precise colours for every element including backgrounds, form fields, buttons, borders, text, and interactive states (hover, focus, error)
- Typography: Choose custom fonts and control sizing, weight, and spacing for headings, body text, labels, and buttons independently
- Corner radii: Define how rounded your buttons, form fields, and containers appear, from sharp corners to fully rounded
- Spacing and layout: Adjust padding, margins, and spacing between checkout elements
- Logo and header: Configure logo placement, sizing, and header layout with more precision than the visual editor allows
The Branding API is particularly useful for agencies and development teams managing multiple Shopify stores. It allows checkout branding to be version-controlled, replicated across stores, and updated programmatically. At Charle, we use the Branding API when clients need pixel-perfect checkout branding that matches their broader design system exactly.
The API is available to Shopify Plus merchants. Standard plan merchants can use the checkout editor for basic branding but don't have access to the full programmatic control the API provides.
Checkout Customisation by Shopify Plan
Not all checkout customisation features are available on every Shopify plan, and understanding these boundaries is important before you start planning changes.
Basic, Shopify, and Advanced Plans
Merchants on standard plans can customise the checkout's visual appearance through the checkout editor, including logo, colours, and fonts. You can also configure checkout form fields, enable or disable guest checkout, and set up basic checkout policies.
Standard plan merchants can install checkout apps that add functionality to the thank you and order status pages. However, apps that modify the core checkout pages (information, shipping, and payment steps) are restricted to Shopify Plus.
Shopify Plus
Plus merchants unlock the full range of checkout customisation. This includes Checkout UI Extensions on all checkout pages, the Checkout Branding API for advanced visual control, Payment and Delivery Customisation Functions, Cart and Checkout Validation Functions, and the ability to run multiple checkout configurations for A/B testing.
Plus also provides access to B2B checkout features that have expanded significantly in 2026, including custom form fields for net payment terms, company-specific pricing at checkout, and minimum order enforcement. Read more about Shopify's B2B features if wholesale is part of your business.
If you're considering the move to Plus specifically for checkout capabilities, our Shopify vs Shopify Plus comparison covers the full picture.
Testing and Optimising Your Checkout
Making changes to your checkout is only half the job. Testing those changes and measuring their impact is what separates effective optimisation from guesswork.
Preview and Test Orders
Always preview your checkout changes before making them live. The checkout editor includes a preview mode that shows how your checkout will appear to customers. After publishing changes, place test orders using Shopify's Bogus Gateway or test mode to verify that form fields, apps, extensions, and payment methods all work correctly.
Pay particular attention to mobile. A significant majority of ecommerce traffic comes from mobile devices, and checkout elements that look fine on desktop can create friction on smaller screens. Test on actual devices, not just browser emulators.
A/B Testing Checkout Changes
Shopify Plus merchants can create multiple checkout configurations and test them against each other. This is one of the most valuable Plus features for conversion optimisation. Rather than guessing whether an upsell widget or trust badge improves conversion, you can measure it directly. Our guide to A/B split testing covers the methodology in detail.
When testing checkout changes, give each test enough time and traffic to reach statistical significance. Checkout conversion rate is your primary metric, but also monitor average order value, payment completion rate, and any downstream metrics like return rates or customer satisfaction.
Key Metrics to Track
Shopify Analytics provides several checkout-specific metrics. Checkout abandonment rate tells you what percentage of shoppers start but don't complete checkout. Payment failure rate highlights technical issues with specific payment methods. Sessions to conversion shows how many visits it typically takes before a customer completes a purchase.
For deeper analysis, tools like Google Analytics 4, CRO platforms, and session recording tools can show you exactly where customers hesitate or drop off during checkout. This data should guide your customisation priorities.
If you'd like expert guidance on optimising your Shopify checkout, our team at Charle specialises in checkout performance for Shopify Plus stores. We combine design, development, and data analysis to create checkouts that convert. Get in touch to discuss your checkout project.